Slip Stitch Knitting Explained
Close your eyes if you will and picture the answers to the following questions:
1) What are the best color knitting techniques?
2) What are the best texture knitting techniques?
3) What are the best decreasing techniques?
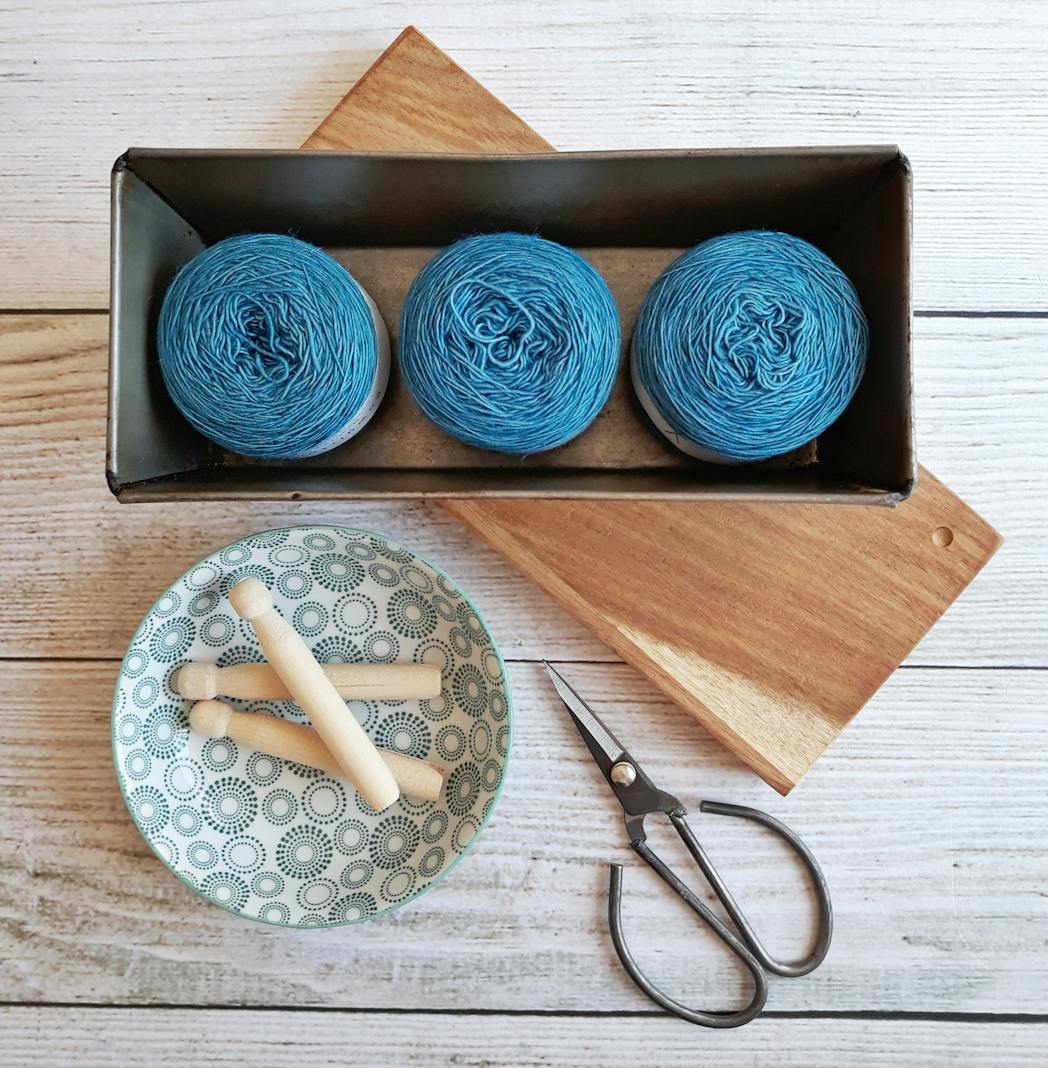
I’m willing to guess that slipped stitches may not have come up at all, and yet it’s a perfectly reasonable answer to each. Most knitters use slipped stitches only thicken the heel flap of a sock or to create an even line at the edge of a scarf. However, the technique also jazzes up stripes and creates other interesting patterns, both colorful and textural. Since it uses only one strand of yarn at a time, it’s much easier than intarsia or stranded knitting. It’s a great way to add flair to an otherwise simple garment or accessory. Why not try it?
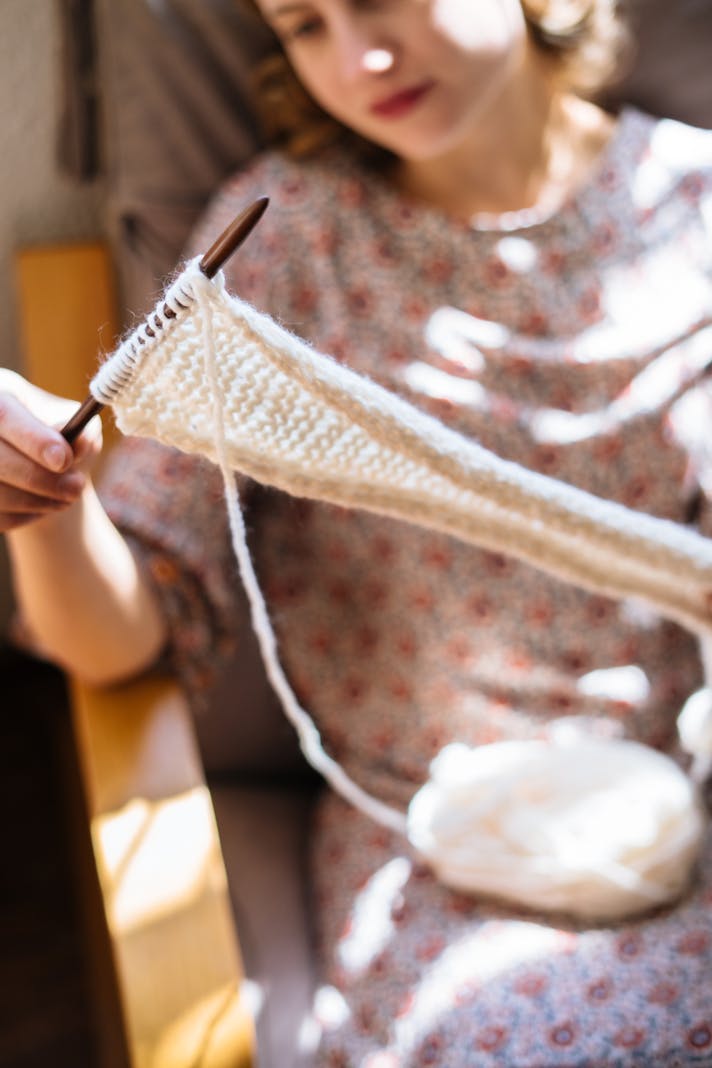
Stitches are usually knit or purled. When knitting lace, one also decreases or increases to create the look of a pattern. The slip…knit…pass slip stitch over technique, however, asks the knitter to start by moving a stitch from the left to right needle without knitting it. In order to do this, one picks up the stitch and moves it to the opposite needle. Unless noted, one usually does this in the same manner as if purling a stitch, except of course without adding the yarn to the maneuver.
For the decrease mentioned above, this stitch is then later passed over the next stitch, in effect binding it off. In lace knitting, of course, this decrease is then paired with a yarn-over. However, it is possible to use the slipping technique without changing the stitch count. The stitch in question will then extend over one or more rows, compressing the fabric by stretching the stitch.
Perhaps the easiest slip stitch pattern is the half linen stitch, which is created in five rows. If one is knitting back and forth, here is the pattern:
Rows 1, 3, and 5 (Wrong side): purl
Row 2: knit 1, bring the yarn to the front and then pass the next stitch as if to purl to the right-hand needle, then move the yarn to the back. Repeat these two stitches until you get to the final stitch and knit it.
Row 4: knit 2, bring the yarn to the front and then pass the next stitch as if to purl to the right-hand needle, then move the yarn to the back. Knit 1, slip one until you get to the final stitch and knit it.
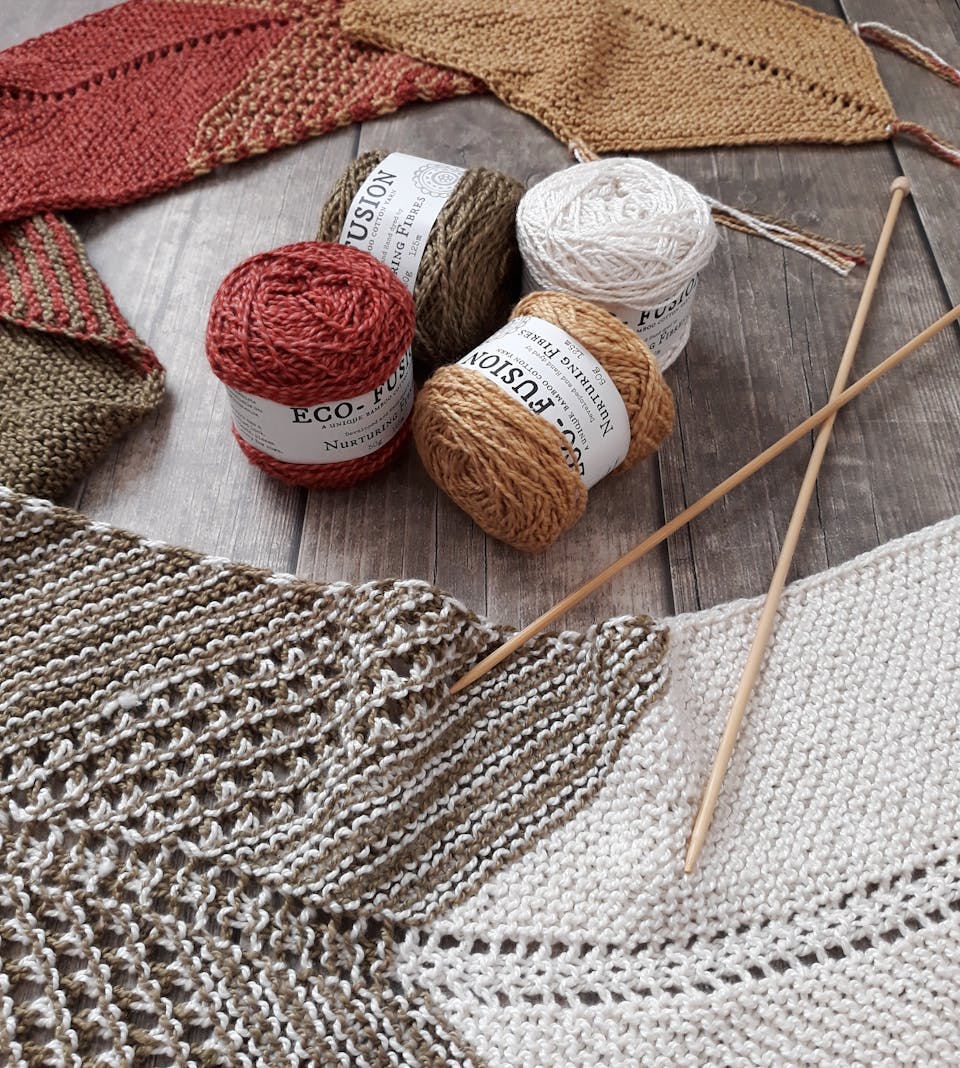
What you are doing here is two-fold. First, you are elongating alternate stitches, knitting plain rows in between. Second, you are moving the yarn to the front of the fabric so that the floats created by the slipped stitches appear on the right side. This combination gives the fabric its characteristic woven look. This pattern can be created in one color for a texture alone or in stripes to create a blended effect. This is a great way to use up different scraps, as the pattern combines them beautifully.
There are of course a plethora of other patterns that utilize slipped stitches. Try a Ravelry search, or check out the listings in a stitch dictionary. You may find this technique addicting!
1) What are the best color knitting techniques?
2) What are the best texture knitting techniques?
3) What are the best decreasing techniques?
I’m willing to guess that slipped stitches may not have come up at all, and yet it’s a perfectly reasonable answer to each. Most knitters use slipped stitches only thicken the heel flap of a sock or to create an even line at the edge of a scarf. However, the technique also jazzes up stripes and creates other interesting patterns, both colorful and textural. Since it uses only one strand of yarn at a time, it’s much easier than intarsia or stranded knitting. It’s a great way to add flair to an otherwise simple garment or accessory. Why not try it?
Stitches are usually knit or purled. When knitting lace, one also decreases or increases to create the look of a pattern. The slip…knit…pass slip stitch over technique, however, asks the knitter to start by moving a stitch from the left to right needle without knitting it. In order to do this, one picks up the stitch and moves it to the opposite needle. Unless noted, one usually does this in the same manner as if purling a stitch, except of course without adding the yarn to the maneuver.
For the decrease mentioned above, this stitch is then later passed over the next stitch, in effect binding it off. In lace knitting, of course, this decrease is then paired with a yarn-over. However, it is possible to use the slipping technique without changing the stitch count. The stitch in question will then extend over one or more rows, compressing the fabric by stretching the stitch.
Perhaps the easiest slip stitch pattern is the half linen stitch, which is created in five rows. If one is knitting back and forth, here is the pattern:
Rows 1, 3, and 5 (Wrong side): purl
Row 2: knit 1, bring the yarn to the front and then pass the next stitch as if to purl to the right-hand needle, then move the yarn to the back. Repeat these two stitches until you get to the final stitch and knit it.
Row 4: knit 2, bring the yarn to the front and then pass the next stitch as if to purl to the right-hand needle, then move the yarn to the back. Knit 1, slip one until you get to the final stitch and knit it.
What you are doing here is two-fold. First, you are elongating alternate stitches, knitting plain rows in between. Second, you are moving the yarn to the front of the fabric so that the floats created by the slipped stitches appear on the right side. This combination gives the fabric its characteristic woven look. This pattern can be created in one color for a texture alone or in stripes to create a blended effect. This is a great way to use up different scraps, as the pattern combines them beautifully.
There are of course a plethora of other patterns that utilize slipped stitches. Try a Ravelry search, or check out the listings in a stitch dictionary. You may find this technique addicting!

Related Articles
Editor's Picks Articles
Top Ten Articles
Previous Features
Site Map
Content copyright © 2023 by Korie Beth Brown, Ph.D.. All rights reserved.
This content was written by Korie Beth Brown, Ph.D.. If you wish to use this content in any manner, you need written permission. Contact Korie Beth Brown, Ph.D. for details.